Showing posts with label Renovations. Show all posts

Wednesday, August 14, 2013

Renovation Part 3

WE'RE FINALLY DONE!!!!! Halle-freakin-lujah

After painting on and off for the past 2 weeks, renovating the old wallpaper and lifeless paint, we are finally done!
I know you're probably soooo over seeing renovation posts, and to be honest I'm soooo over writing about them, so I will make this last one short and sweet! 
 
 
#1: Entry/Foray

What was once a boring white paint pealing entry...


Is now gorgeous and welcoming...


#2 Dining Room
 

#3 Kitchen

Before...


After...


#4 Master Bath

We used the same color green in these 4 renos but somehow it looks way different in the pictures of the bathroom :(

Ugh there's that wallpaper again...


Now there is officially no more (visible) wallpaper!!!
#5 Ceiling


Some old water damage... poof it's gone!!
Isn't Carey amazing (she's the super hero popping up in these reno pictures), a HUGE thank you to her!!! We couldn't of done what we did without her!

Friday, August 9, 2013

Renovation Part 2

 { If you missed the Renovation Part 1 click HERE }

It has been a full week, between painting, and packing, and mentally preparing myself for the start of a new school year happening in 1 1/2 sad short weeks... I'm pretty dang exhausted and stressed, and school hasn't even started yet-go figure.

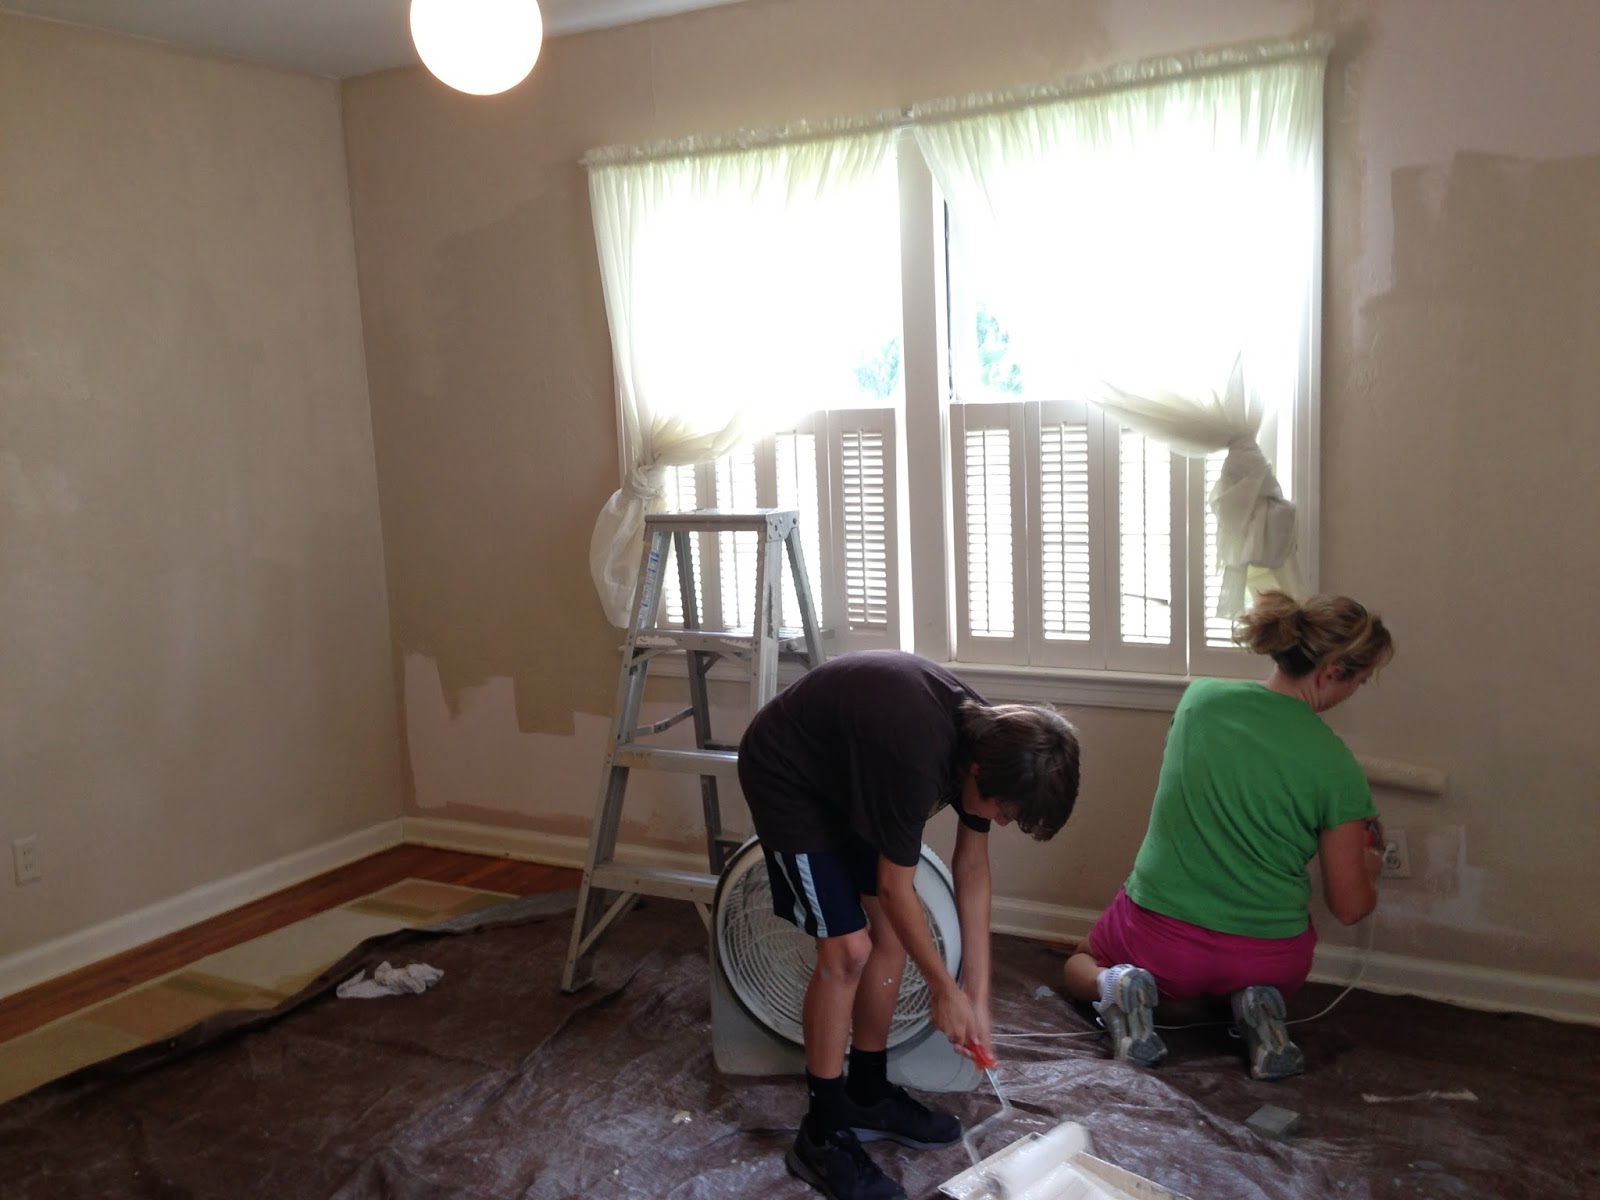
Anyway, enough of my complaining, while we continued on our no-wallpaper-allowed escapade, we actually took a quick detour and hit up the weird light pink painted second family room. Yes, it was actually light pink, a dingy light pink.

To help you get this visual in your head here is a close resembling swatch to what the god awful color looked like:


Now, you're probably thinking "Oh my gosh it's not that bad, it's actually kind of pretty" and that I'm over exaggerating. But to be honest, this is a pretty color, it would be splendid as a nail color but not a room color. 

So we got to painting...


For this paint color we actually mixed 3 neutral tans together and came up with this color. If you want more info on the color click HERE and scroll down!


Here, you can see the contrast between the old & new paint, but this doesn't accurately show the gaudy cotton candy pink... I couldn't quite picture it correctly.


This was once we had completed the room, but the paint hadn't dried yet.

I will post after pictures by the end of the day of the completed room {hint: It looks sooooo much better}


Next up on our redo list was this yucky looking light fixture...


This thing looked like it had taken a beating in the last 70 years...


Can you believe that's the same grey paint we used in the master bedroom?!?!


That's the cool thing about painting is it's like your wiping away a whole other decade{or in this houses case almost 7 decades} of chapters in the houses life,
and starting a whole new one.
In the last house we lived in we didn't do any updating or painting, we just left the house as we found it. So this whole painting renovation process has been new to me and I have to say I love the power of paint! It transforms a room, or in our case most of the house, into a completely new house with completely new memories to come.

Phewww, another round of renovations done and a few more to come, stay tuned!


Tuesday, August 6, 2013

Renovation Part 1


My family and I are onto our next house... yes, our third one in two years... it may seem like a lot but each one has been an adventure {at least that's what I keep telling myself!}. Why stay in one house for two years when you could stay in 3 different ones for the same amount of time?! Don't answer that.

Any who, our third {and hopeful nest for awhile} is a quaint "Southern Chic" ranch style house, that I have to say, I absolutely adore. I love all of the white, the hardwood floors, the color schemes, and the TONS of natural light.

Although, one thing we my mom didn't like was the wallpaper pasted on the walls in both the dining room & master bedroom. I for one, thought it went with the theme of the house and added lovely character, but I guess I wasn't the one who would of had a room covered in it... point taken, mom.

So we decided we'd have to paint it, I had no idea you could actually just paint over wallpaper and call it a day, I figured we'd have to rip it down or steam it to lift it, or soak the paper until it just fell off the walls. But apparently you don't have to do any of these drastic moves, lucky us!
You can simply just roll and paint away as you would do on any plain old normal wall. You just have to be careful though, that you don't saturate the wallpaper too much with paint or else the wallpaper will start to bubble, which is best avoided.

So we go to slappin' some paint onto the walls to cover the outdated paper. Here are before and after pictures & paint colors we decided on.


{Isn't my mom cute! She's the bald beauty. I'll share a
bit about her story sometime...}


I love love LOVE the color we {I} chose for the master it's somewhere in-between a bluey, purpley, grey. It's beyond gorgeous.
The color: Benjamin Moore Revere Pewter
{As seen on my Pinterest: HERE}
Somehow it turned out a lot darker in the room we painted, maybe it was due to the different lighting?


Now continuing onto project #2 of the day,
the even uglier wallpaper in the dining room...
 I figured I'd spare you the close up on this one.


Now this paint color is a little harder to describe, my moms friend Carey literally combined 3 different neutral tans and came up with this color. So it's a one-of-a-kind but it's basically just a neutral tan
{ Like this one or this one }
Stayed tuned for more renovations to come!
{there's more wallpaper to tackle}


Related Posts Plugin for WordPress, Blogger...