Showing posts with label DIY. Show all posts

Monday, February 16, 2015

D.I.Y Photo Wall


I can't get over my new photo wall!! I love waking up, and looking over at so many happy memories filled with people I love! 
Here's how to create your own!


What you'll need:
  1. Photo prints // I used about 100 prints to create my photo wall, so depending on the size of the photo wall you want to create, that will depend on how many prints you'll need (and guess what, Walgreens is having a sale on prints right now, whoop whoop!)
  2. Scissors 
  3. Tape (I recommend duct tape!)
  4. Paper poster board(s) // The amount you'll need will depend on how many prints you have and how big you want your photo wall to be. I used 4 poster boards, and I could fit about 25 (4x6) prints on each board. 


Now, before we go any further let's talk about what happened here. So the first time I created the photo wall I spent a 4 solid hours individually taping each picture directly onto the wall. After I had finished, I admired my creation and then went to work. 5 hours later, I return and see this. 90% of the photos had fallen down, I'll be honest, I teared up a bit. All my hard work had fallen down into a crumpled mess of sticky tape and paper. 
Don't make the same mistake I did!! If you want to tape the photos directly to the wall, that's fine! Just first tape one photo to the wall, leave it there for a few hours, and see if it sticks or falls down.


After the heartbreaking first incident, I almost grabbed a trash bag and stuffed the wadded tape and paper mess into the bag. But then I thought of using poster boards! I don't mean to toot my own horn, but this idea is sort of genius.
What I did was, I took a poster board and taped the photos directly onto the board! 
Then I nailed it to the wall. Depending on the weight of the boards you can either tape or hang them onto the wall.
Duh, right? I wish I would of thought of this sooner!
Also, a great bonus of using poster boards is that you can easily move the photo boards around, whereas if they were directly taped to the wall it'd be a lot harder to maneuver them. This way when I go to college in the fall I can easily move the boards to my dorm!
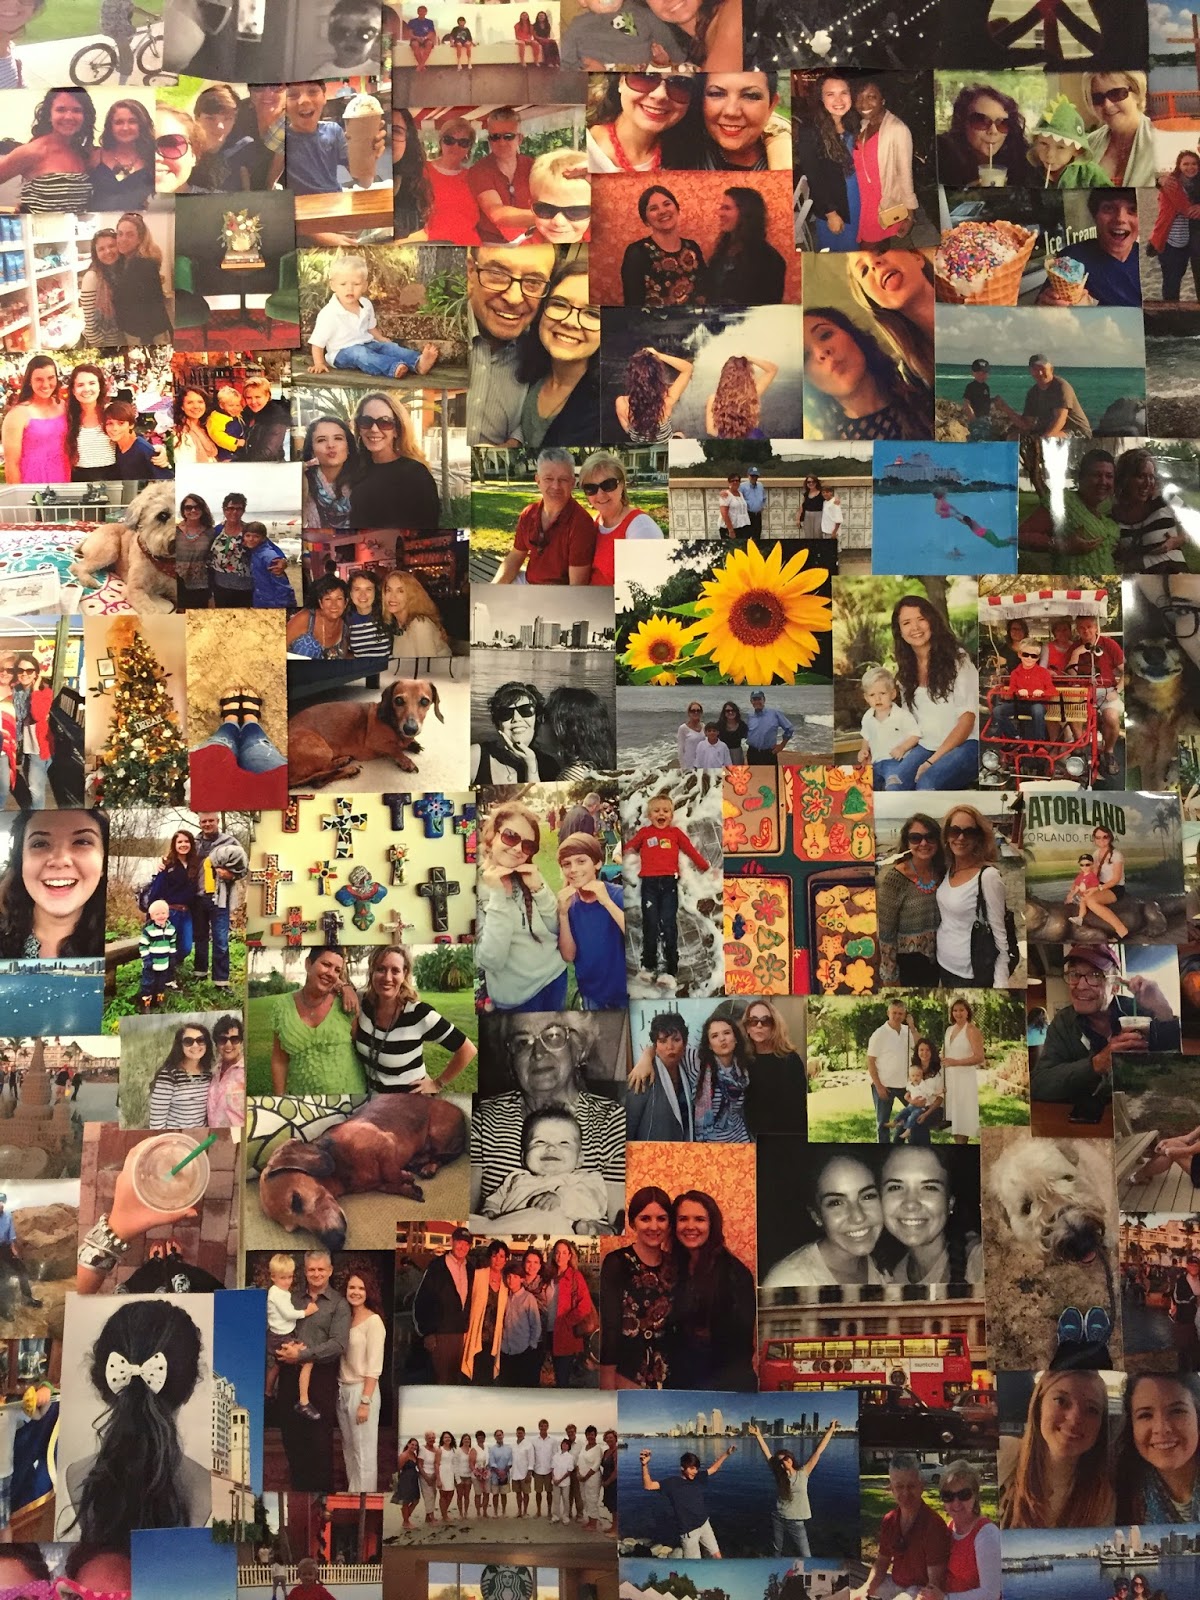

I love how this DIY turned out!

Do you have a space in mind to create your own photo wall?

post signature

Wednesday, January 14, 2015

D.I.Y Lace Pearl Bracelet Post Featured on Vinted!


Happy New Year's everyone! I hope you all are having a great start to 2015. A couple of weeks ago I got asked by one of my favorite shopping apps/websites called Vinted, to write a post for their #VintedDetox campaign! The post is about going into your closet and creating a new look for an old item and showing how to style it (it's about giving something old, new life for the new year!) I chose to do a D.I.Y, and did so by cutting up an old lace shirt and making a new bracelet out of it! 
Go check out the post here, and let me know what you think!


Thanks Vinted for asking me to partake in such a neat and creative campaign!

post signature

Friday, April 4, 2014

DIY: Color Changing Milk Experiment


Happy Friday everyone!
A few months ago I did this fun experiment in Chemistry class involving milk and food coloring! I decided I must share it!
You could do this with your kids, or just by yourself! I did this with my 4 year old brother and he LOVED it. He thought it was magical, ( I did too to be honest).

    Materials:

    - Milk {whole or 2%}
    - Plate {I used a plastic plate, just in case the food coloring dyed the plate}
    - Food Coloring {red, yellow, green, blue}
    - Dish washing soap {I used Dawn}
    - Cotton Swab

    Directions:
  1. Poor milk onto plate, make sure you pour enough to cover the bottom of the plate.
  2. Add one drop of each of the four colors of food coloring  {red, yellow, blue, and green}  to the milk.
  3. Place the droplets in the center of the plate and try to get the colors all close together without mixing them. 
  4. Place one end of the cotton swap in the soup.
  5. Place the soapy end of the cotton swab in the center of the food coloring droplets.
  6. Watch the magic happen!!

     If you want to make the concoction look even cooler you can take the cotton swab and mix the colors all around!

 post signature

Sunday, February 9, 2014

DIY: Outfit Journal


I've been trying to figure out a way to remember outfits I've put together over time, because I basically have the memory span of a sandwich. So, I found a journal the other day that I bought on Etsy last year and I finally thought up a way to use it, by creating an outfit journal! All you basically have to do is snap a picture when you pull together a cute outfit and then print it out and stick it in a journal!
I've tried tons of other ways to keep track of my outfits, and this seem like the simplest way of doing it!

Do you keep track of your outfits?

Image and video hosting by TinyPic

Friday, January 31, 2014

DIY: Inspirational Quote Wall


When we moved into our new house back in October, I was super excited about my new room. It's ginormous {it's actually suppose to be a second living room buttttt I got to make it my room}. So knowing I had a lot of wall space to decorate, I knew I wanted a section dedicated to my favorite quotes. 
So that's just what I did! 
It's so inspiring to walk out the door of my room and read a positive quote or two on the way out! It gives me that boost I need to jump start each new day. 

Do you have an inspirational quote wall? What motivates you everyday?

Image and video hosting by TinyPic

Tuesday, January 21, 2014

DIY: Lengthening A Necklace

The other day I bought this necklace from F21, which I was super excited to wear because it is the only neon item in my closet! But when I got home and tried it on, it seemed super short, almost like a choker style necklace. And that sorta just made me feel super claustrophobic, so I wanted to figure out a way I could lengthen it to make it less choker-y. 
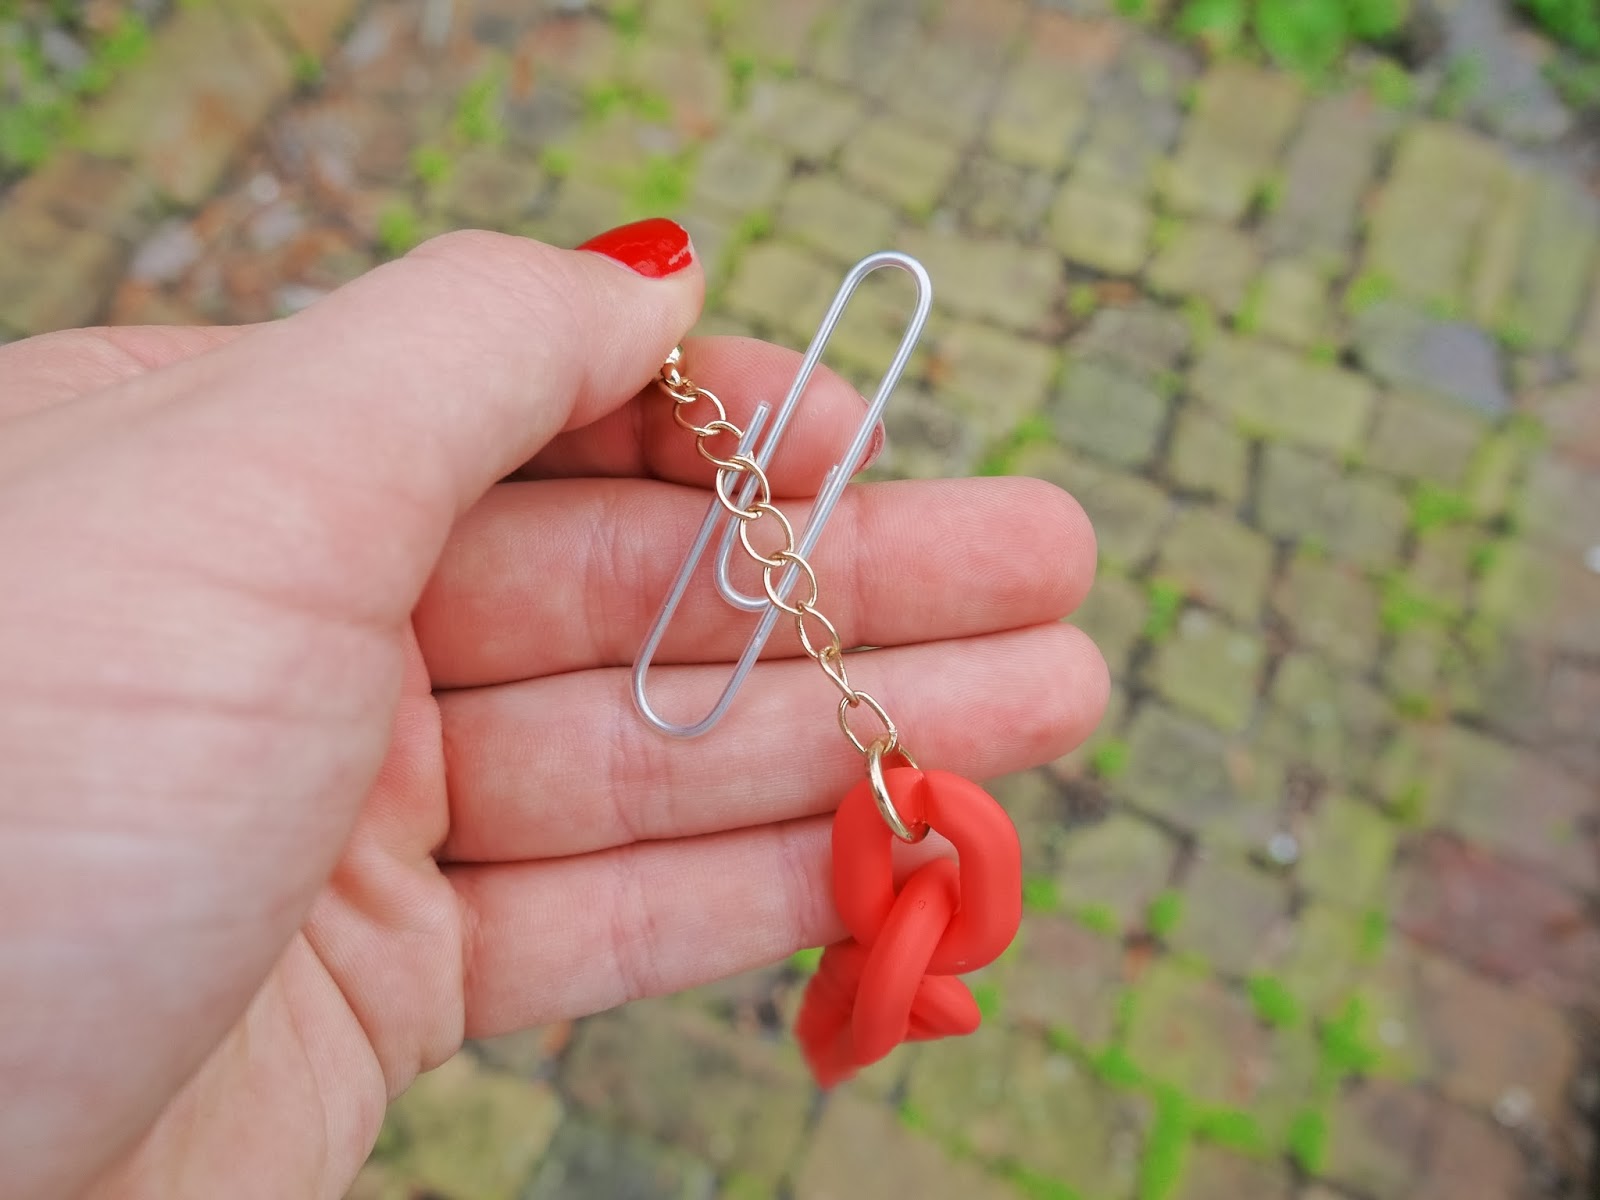
The solution I came up with to solve my problem is a paper clip!
Here's how to do it!


What you'll need:
-A few paper clips {the amount, depends on how much you want to lengthen the necklace}
-The necklace you want to lengthen 


All you have to do is slide the chain part of the necklace onto one end of the paper clip...


So that it looks like this ^


and then take the clasp end, and clasp it around the opposite end of the paper clip...


so that it looks like this ^


If you want your necklace to be a little longer after you add just 1 paper clip, try adding 2 or 3 more until you get the desired length! 


Taadaaaa! This will be the result!
#1 is the original necklace {with no paper clips attached}
#2 is with 1 paper clip attached 
#3 is with 2 paper clips attached 

Image and video hosting by TinyPic

Monday, January 13, 2014

DIY Colored Cracked iPhone


Doesn't this look sick!! I've seen people do this with their phones all over Pinterest and I've secretly always wanted to "accidentally" crack the glass on my iPhone so I could give my phone this effect! Fortunately {knock-on-wood!!} my phone has never cracked but a friend of mine wasn't as lucky. So I asked her if I could use sharpie and "bleed" it through the cracks to give it this cool effect, and she let me!! But don't get me wrong, I'm not advising you to run outside and "accidentally" drop your phone on the sidewalk to make it shatter. This Sharpie bleeding concept is just a cool way {I think} to spruce up your already {unfortunately} cracked iPhone. 

How To Do It:

1.Grab as many Sharpies or permanent markers you'd like and your iPhone.
2. Take one of the markers and color all over one area of the cracks {you can color not just on the cracks but also all the glass around it to give the whole area a dyed effect} 
3. After a minute or two, you will notice that not all the dye will soak into the cracks or the glass. With a paper towel wipe away all the excess marker/dye. 
4. Repeat the above steps with however many marker colors you'd like!


If you try this DIY out on your phone or have already done it send me pictures!


Image and video hosting by TinyPic

Saturday, December 7, 2013

Thank You Notes


As you can tell from the Snail Mail Collective Post, I'm an old fashioned girl. In the sense that I I love to receive and send letters. Now a days with email and texting, people rarely send hand written thank you notes. It seems like an almost prehistoric action, to actually take the time to find a card, write a message, place a stamp on it, and toss it in your mailbox. A lot of time the thought of 'why can't I just send them a quick thank you text and be done with it?' Well here's why, it's so much more meaningful to receive a handwritten thank you card in the mail than to receive a meaningless two-worded text. When someone takes the time to go out and buy a gift for you, the least you can do is take 10 minutes {yes, that's all the time it takes!} to write a meaningful thank you note, that will probably make the recipients day, maybe even week! And as a bonus, they will probably be more likely to buy you gifts in the future.
With the gift giving season approaching, it's the perfect time to try out the art of sending a thank you note! If you're thinking, 'hmmm I want to try this whole sending thank you notes thing out but don't have any thank you cards and don't want to spend a bunch of money on them'. DON'T FRET! I am the queen of finding great deals aren't I? {The correct answer is yes} Which is why I'm going to share a secret with you... you see all the cute cards & perfectly matching envelopes in the picture above? Well, everyone one of them is from the dollar section at Target and only cost a buck each!! A set of 5-8 cards AND matching envelopes come in a pack FOR ONLY A BUCK! That's a steal. You can make someones day for only 4 quarters and show your total appreciation for what they did or gave you this holiday season. 

Are you old fashioned like me and love to send & receive letters? 

Image and video hosting by TinyPic

Sunday, October 13, 2013

How To Make Your Phone A Piece Of Art

 Art may be too strong of a word for this I admit and some of you art critics out there may not think this is classified as art like a Monet or Picasso master piece! So keep your comments to yourself. But I classify basically anything colorful and creative, a piece of art!
 So here we go, the cool thing is you don't have to have an iPhone to do this DIY (yes, this is an android friendly post!), it will work for any phone and you could also do this with a tablet or maybe even a laptop (if you have the patience!).
 
This is a follow up from the Washi Tape Notecard Post I did a few weeks
ago. As you may of guessed, I am in loveeee with the this washi tape stuff and I keep finding new ways to use it!!!
 
{so this probably won't be the last post on it, sorry if you're not diggin' these posts, but that's why this is my blog and not yours:} Yes I'm sassy and happy today because I've had one too many cups of coffee... oops.
 
Now back to the post, all you have to do is pick out whichever tapes you fancy most, and measure or just pull a Natalie and cut them to the correct size by precisely winging it, the object is to cut the right size piece that will fit on the back of your phone, tablet, or laptop without it being just a hair too short or too long where you have to possibly start all over with a new piece of tape.
 
FYI, The tape won't damage or leave that annoying sticky stuff when you decide to take it off. Once you get the right length of tape strips and decide on the pattern you like, go ahead and stick it on your device!
And Voila, you're an artist!!!
 

If you're like me and can't go a day with a naked (aka case-less) phone, in fear of dropping it once and having the entire phone shatter and basically die right before your very eyes, then I have a solution for you!
Stick a case on it that has a clear or see through back like this one...


Now your little bundle of joy is not just cute and artsy, but also protected!
It couldn't really get any better, could it?
 
Here are a couple cases with clear backs:


Saturday, September 21, 2013

DIY Flower Crown

I've seen these flower crowns all over tumblr and other blogs! I just love the boho look of them, and decided I had to make one!
Who knows if i'll ever actually wear it out in public but it was a fun prop to photograph and only cost 2 bucks to make!


Materials you will need:
  • Fake or real flowers (if you want the crown to last, go with fake flowers) I bought these at Michael
  • Clear tape
  • twine or thin wire (I used twine but thin wire would work probably a bit better, because it wouldnt be as flimsy)
  • scissors
 

  1. First, cut all the stems off of the stick so that you have individual strands/stems of flowers (you will need at least 3) you probably want more the merrier becuase then it'll be thicker with flowers!
  2. Next, grab the twine and wrap it once around your head to measure the correct size crown you will need. Leave a little extra, you can always cut it off later.
  3. Line up one of your strands with the piece of twine you just cut.
  4. Tape the twine and first flower strand together.
  5. Keep doing this with all the strands, overlapping them with eachother and taping them all together.
    Once you've use all the strands you should have 1 long thick strand of all the strands combined taped along the twine.
  6. Once again measure it around your head and then tape it so that it is a complete circle of flowers.
  7. Cut off any excess twine or strands of the flowers.

      Here's a better tutorial if mine was a little too confusing!


Dress: Urban Outfitters 

Have A Great Weekend!!

Saturday, September 14, 2013

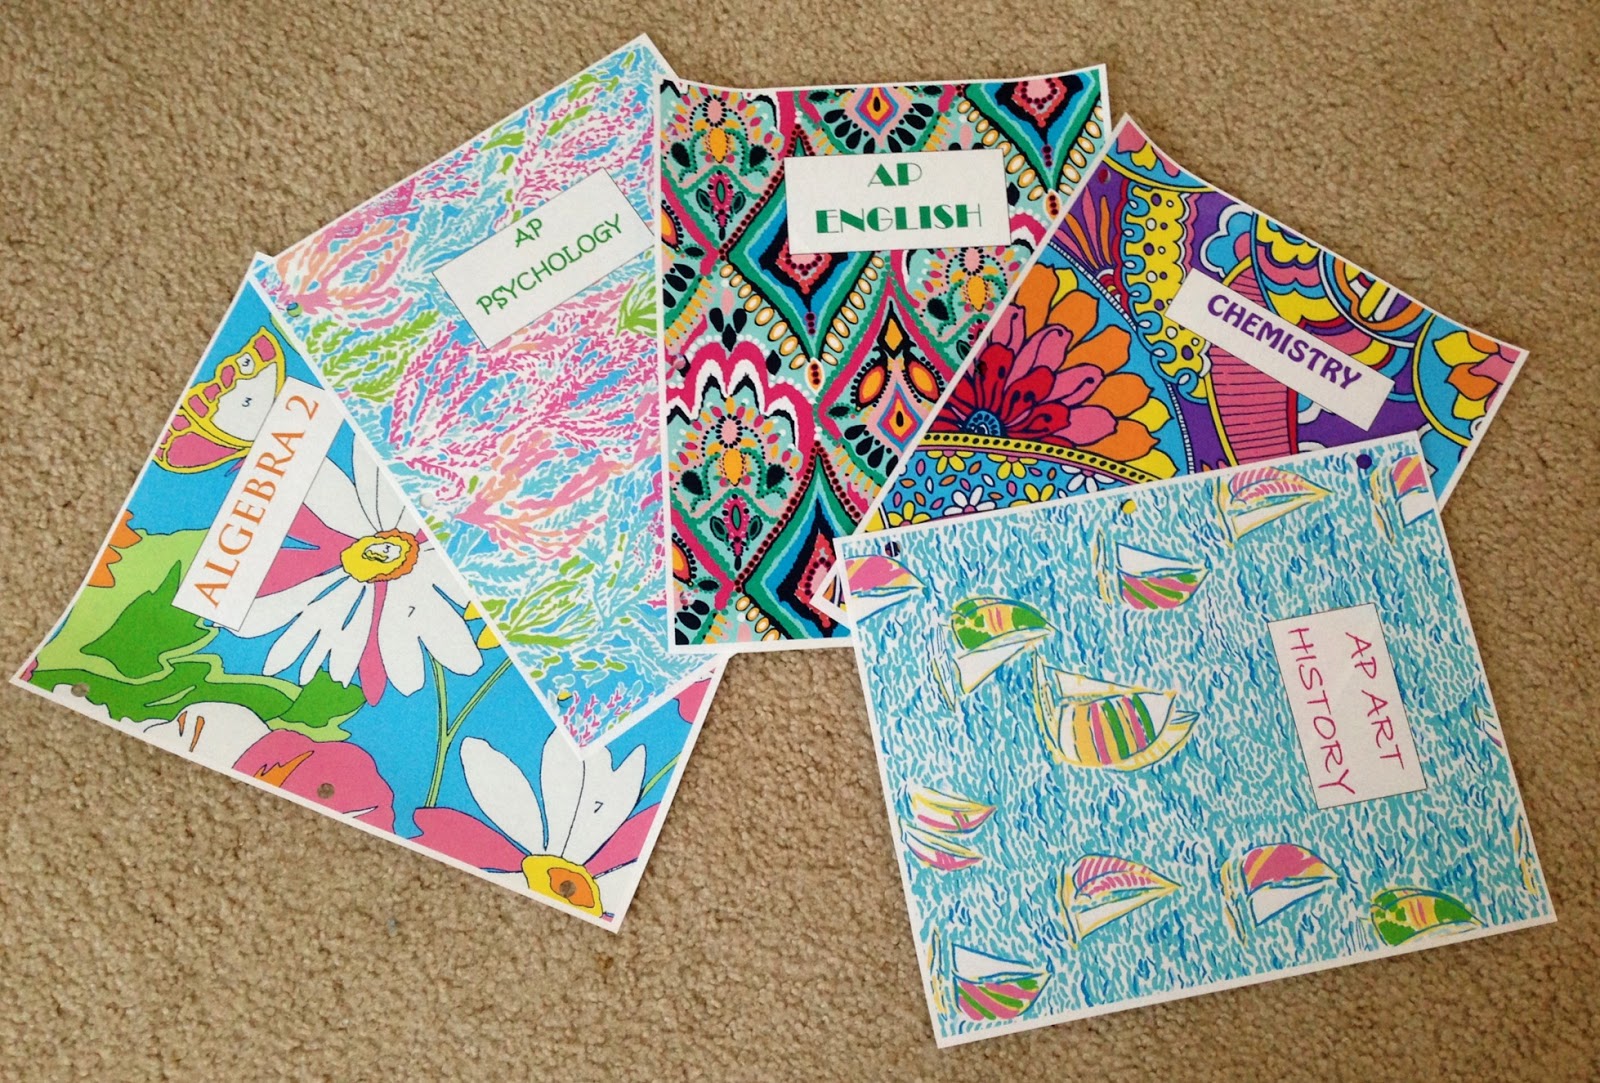
Lilly Pulitzer Binder Covers


In honor of everyone going back to school, whether to middle, high school, or college everyone needs a binder or two (or 5!) to help get them organized for the upcoming year. If you are lucky enough to have already completed all your schooling then this post could still apply to you! You could use these binder covers for reports, or at home organization, like recipes or organizing finances (fun fun!).

I honestly hate using binders, just because they become heavy heavy heavy with paper, but they are great for organization, and many of my teachers require them this year so I had to give in. So I was determined to make them look as pretty as possible and I have succeeded!!


Here's how to do it!

  1. Google Lilly Pulitzer patterns, pick out your favorites, try to pick the ones that are big (1,000 x 1,000)
  2. Copy the image
  3. Open up Word and paste the image onto a new Word document
  4. Rotate the image if needed, and expand it to cover the entire page (I couldn't get mine to fill the entire page so I left a couple inches of empty space at the bottom of the page and just cut it off when I printed it
  5. Once you get the image to fill as much of the page as you can, insert a text box, where a title is going to be, and type in what you'd like it to say (Chemistry, Recipes, etc.)
  6. For an extra bit of pizazz match the color of your title to the Lilly pattern you picked!
  7. Print, punch in holes if needed, and enjoy!!


Related Posts Plugin for WordPress, Blogger...