Tuesday, August 6, 2013

Renovation Part 1


My family and I are onto our next house... yes, our third one in two years... it may seem like a lot but each one has been an adventure {at least that's what I keep telling myself!}. Why stay in one house for two years when you could stay in 3 different ones for the same amount of time?! Don't answer that.

Any who, our third {and hopeful nest for awhile} is a quaint "Southern Chic" ranch style house, that I have to say, I absolutely adore. I love all of the white, the hardwood floors, the color schemes, and the TONS of natural light.

Although, one thing we my mom didn't like was the wallpaper pasted on the walls in both the dining room & master bedroom. I for one, thought it went with the theme of the house and added lovely character, but I guess I wasn't the one who would of had a room covered in it... point taken, mom.

So we decided we'd have to paint it, I had no idea you could actually just paint over wallpaper and call it a day, I figured we'd have to rip it down or steam it to lift it, or soak the paper until it just fell off the walls. But apparently you don't have to do any of these drastic moves, lucky us!
You can simply just roll and paint away as you would do on any plain old normal wall. You just have to be careful though, that you don't saturate the wallpaper too much with paint or else the wallpaper will start to bubble, which is best avoided.

So we go to slappin' some paint onto the walls to cover the outdated paper. Here are before and after pictures & paint colors we decided on.


{Isn't my mom cute! She's the bald beauty. I'll share a
bit about her story sometime...}


I love love LOVE the color we {I} chose for the master it's somewhere in-between a bluey, purpley, grey. It's beyond gorgeous.
The color: Benjamin Moore Revere Pewter
{As seen on my Pinterest: HERE}
Somehow it turned out a lot darker in the room we painted, maybe it was due to the different lighting?


Now continuing onto project #2 of the day,
the even uglier wallpaper in the dining room...
 I figured I'd spare you the close up on this one.


Now this paint color is a little harder to describe, my moms friend Carey literally combined 3 different neutral tans and came up with this color. So it's a one-of-a-kind but it's basically just a neutral tan
{ Like this one or this one }
Stayed tuned for more renovations to come!
{there's more wallpaper to tackle}


Sunday, August 4, 2013

DIY Turning Something Old To New

Now, before I begin don't make fun of me because this may seem like a no brainer but hey I thought it was a pretty good idea and I had to share my moment of creativity... :)
A couple weeks ago my mom gave me this picture frame she's had for 10 years and just didn't have a spot for it anymore.
I forgot to take a before picture, but the whole palm tree was basically a 70's looking faux wood, as you can see in the picture below...
 The best part about this DIY is that It's free! I already had the item I wanted to redo and I found the paint in my garage.

Here is what I did to turn this 70's themed wall décor into something worth hanging on the wall!


Materials:

  1. Newspaper
  2. Paint of your choice
  3. brushes
  4. Item you want to redo
  5. Tape {optional}
  6. Sand Paper {optional}

Directions:

  1. Lay newspapers down to protect what ever surface you're working on from getting unwanted paint on it.
  2. Grab all your materials and lay them over the newspapers.
  3. Remove glass or plastic in the picture spots.
  4. If necessary, tape edges or spots you don't want paint to get on or you could tape a pattern {stripes, chevron, polka dots, etc.} on your item and make it a bit more funky.
  5. If your item has a very smooth surface, you may need to use sand paper to scuff up the surface a bit so that the paint adheres better to the surface of the item.
  6. Paint away!
  7. Let dry 24 hours.
  8. After 24 hours, if you can see through the paint or your first paint job was a little messy {like mine} then you should probably give it a second coat.
  9. Do a second coat of paint
  10. Let dry another 24 hours
  11. If dry to touch, put in pictures and find a spot to hang. 


The kind of before picture...


Close up of the not-so-great original faux wood...yuck!!


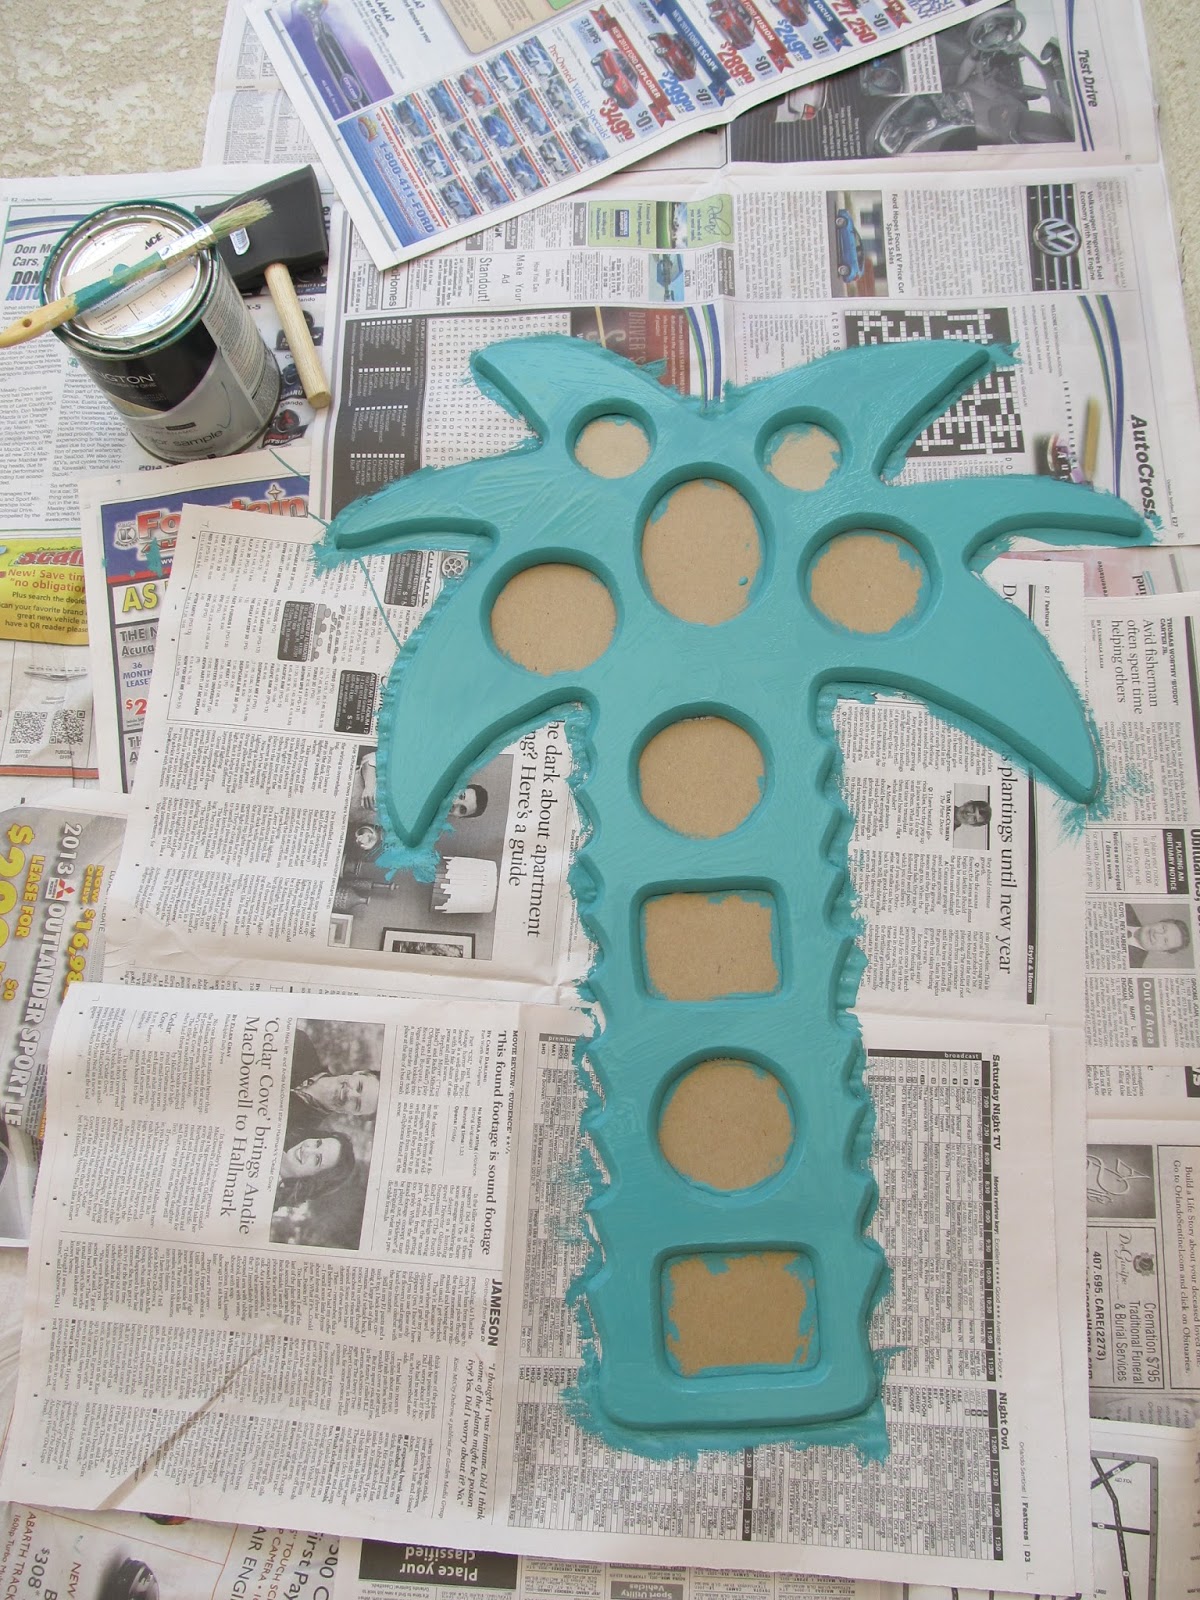
I'm just painting away :)


Paint job round uno


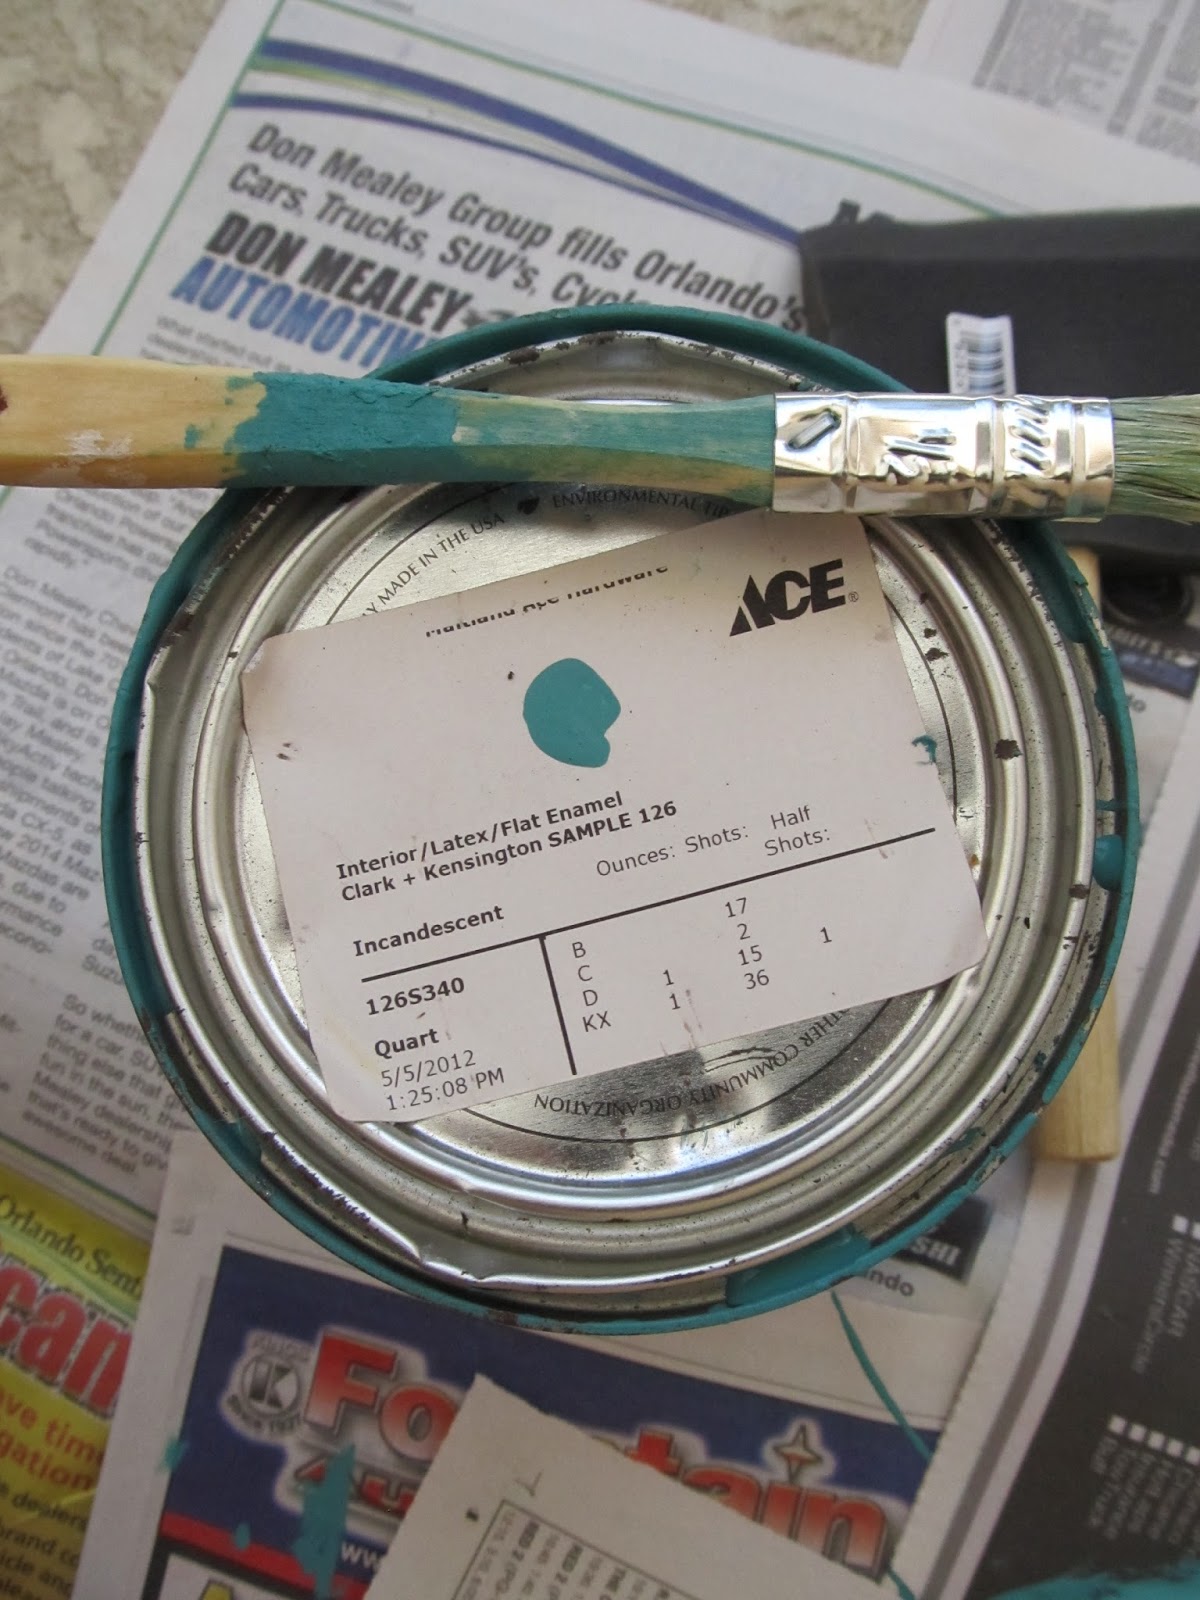
In case you wanna know the color...


 Here's the gorgeous turquoise color I used...


The finished project {before drying}


The completed project!
It's amazing what a little paint and time can do!

Wednesday, July 31, 2013

Grilled Chicken Taco Salad


Oh holy goodness... {it was almost too pretty to eat}

After the 3 glorious weeks I spent in California, 
basically eating Mexican food everyday, and then 
coming home to no authentic insanely good Mexican 
food joints, I quickly became Mexican food deprived.
So the other night I decided to try out some
sort of Mexican dish-and this taco salad
hit the spot.

What's awesome about this recipe is that most of the ingredients are common foods that are probably already In your fridge or pantry! If you are missing an ingredient or two, pull a Natalie, and substitute {or leave it out}! 


Ingredients:


1. 1 can of black beans rinsed and drained {I didn't have any In my pantry, so I instead used Green Giant Steam Fresh Southwestern Style Corn}
2. 3/4 cup of salsa {any kind}
3. 1/2 cup of chopped fresh cilantro
4. 1 tbs. lime juice
5. 2 tbs. chili powder
6. 1 tsp. ground cumin
7. 1 tsp. ground coriander
8. 1 tsp. brown sugar
9. 1/4 tsp. cayenne pepper
10. 1 tbs. olive oil
11. 1 pound skinless, boneless chicken breast halves
12. 4 {7 inch} corn tortillas
13. 4 cups shredded lettuce
14. {another} 1/2 cup chopped cilantro
15. 1 avocado peeled, pitted, and sliced {optional}
16. 1 lime cut into wedges {optional}
17. 1 cup of sour cream {optional}
18. 1 cup Crushed tortilla chips {optional}
19. 1 cup shredded cheese {optional}

Other things you could add...
  • Sautéed onions
  • green peppers
  • tomatoes
  • crushed red pepper {if you like things hot hot hot}

FYI all the optionals make the salad soooo much better, so just go for all of them!!

Directions:

1. Preheat an outdoor grill for medium-high heat and lightly oil the grate. {or do what I did and sauté it until cooked}

2. Mix black beans, salsa, 1/2 cup cilantro, and lime juice in a bowl; SET ASIDE. {I admit, I messed this part up and mixed the wrong things together, so don't pull a Natalie here!}
3. Stir chili powder, cumin, coriander, brown sugar, cayenne pepper, and olive oil in a bowl until smooth; rub mixture over chicken breasts {or just throw it in the sauté pan and swish the chicken around in it, then cook for another minute or two}

4. Cook chicken breasts on preheated grill until no longer pink in the center and the juices run clear, 10 to 12 minutes per side. An instant-read thermometer inserted into the center should read at least 165 degrees F (74 degrees C). While the chicken is cooking, place tortillas on grill and grill until lightly brown on both sides, 3 to 5 minutes. {if you're going the sauté route then all I did was place a tortilla in the middle of each plate, or you could throw it in the oven and toast it until slightly brown}

5. Transfer chicken to a cutting board and slice into long thin strips. Divide chicken strips over lettuce and top with bean mixture, and remaining 1/2 cup cilantro. Serve with avocado, lime wedges, and a dollop of sour cream.


Enjoy!!

Related Posts Plugin for WordPress, Blogger...